ENG / 中文
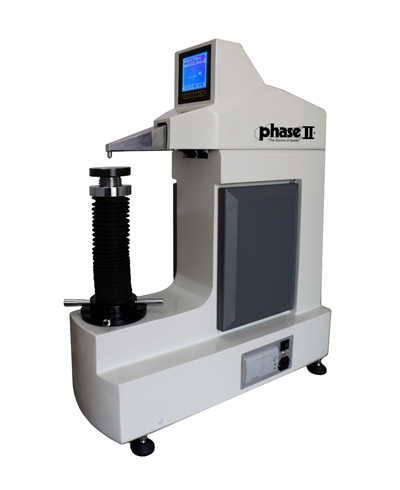
Digital Rockwell/ Superficial Rockwell Hardness Tester/Twin Rockwell Superficial Rockwell Hardness Testers
Model No. 900-384
Features
The test force is applied via a closed-loop control unit with a load cell, a DC motor and an electronic measurement and control unit that replace traditional dead weights. The result is highly accurate hardness test measurements at all test loads up to 0.5%.
Hardness Tester Features:
The test force is applied via a closed-loop control unit with a load cell, a DC motor and an electronic measurement and control unit that replace traditional dead weights. The result is highly accurate hardness test measurements at all test loads up to 0.5%.
Simple plug – and – play tech allows for much more quick and easy installation than traditional dead weight type machines.
Extended dolphin nose allows vertical hardness test height of 11.8” and throat depth of 8.6”.
Built-in micro-printer.
For full conformance to the latest E18-20 specification, please call (201) 962-7373
Hardness Tester Basic Functions:
- Twin hardness tester –Regular Rockwell & Superficial Rockwell hardness test for metal and plastic material.
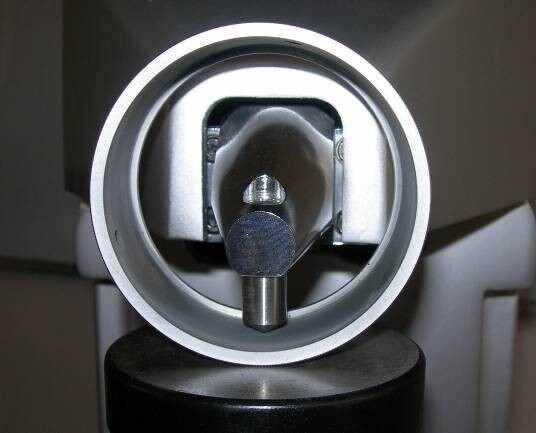
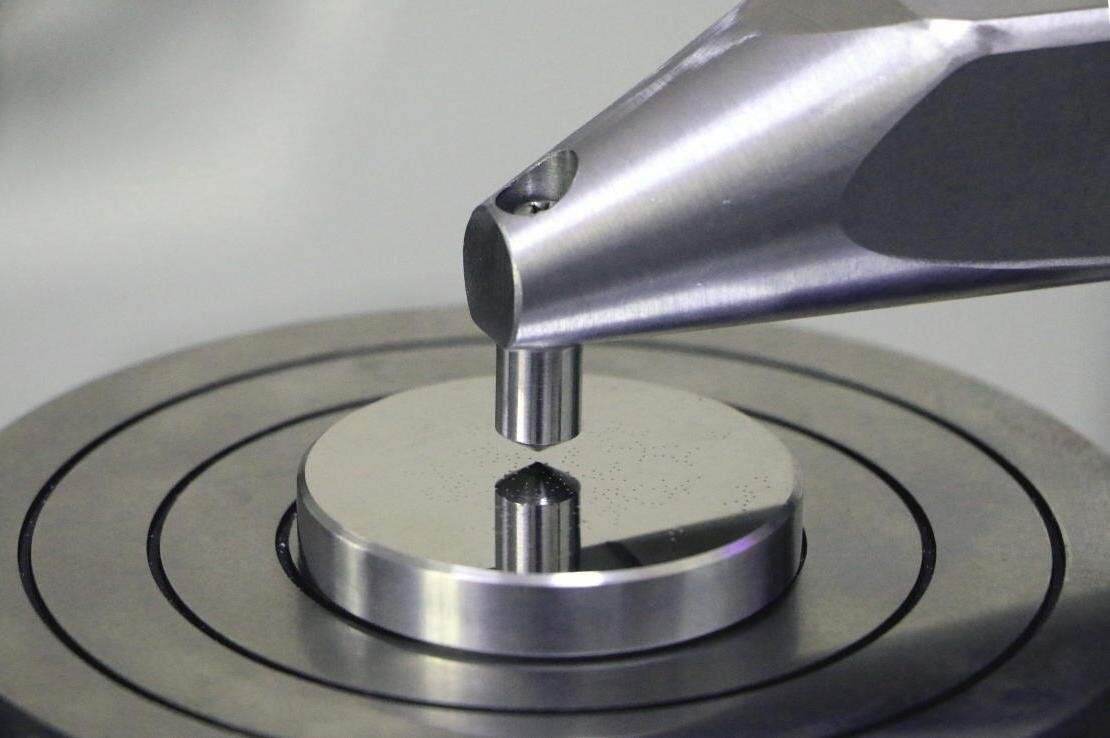
- Horizontal dolphin nose Indenter is suitable for internal and external hardness testing.
- Rockwell Hardness Testing on Surfaces difficult to reach. Hardness Testing internal surface of rings and tubes.
- Provided with many features such as high measuring precision, wide measuring range with 30 Rockwell scales.
- The Rockwell hardness tester is suitable for testing of carbon steel, alloy steel, cast iron, non-ferrous metal.
- Measuring results digitally displayed and can be printed with its built-in thermal Mini-Printer.
- Automatic conversions to Rockwell, Superficial Rockwell, Brinell (HB) and Vickers (HV) Hardness Scales
- The tester meets the following standards: ISO 6508-2, ASTM E18.
- Utilizing the guidelines of ASTM E-18

Hardness Tester Parameters:
- Preload: 29.4N(3kgf), 98.1N (10kgf)
- Total test force: 147.1N(15kgf), 294.3N(30kgf), 441.3N(45kgf), 588.4N (60kgf),980.7N (100kgf), 1471N (150kgf)
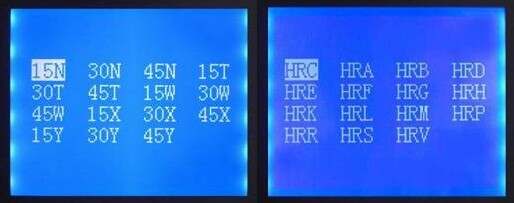
- Scales: HR15N, HR30N, HR45N, HR15T, HR30T, HR45T, HR15W, HR30W, HR45W, HR15X,HR30X, HR45X, HR15Y, HR30Y, HR45Y, HRA,HRB,HRC,HRD,HRE,HRF, HRG,HRH,HRK,HRL,HRM,HRP, HRR, HRS,HRV
- Load dwell duration: 2~50s, can be set and stored
- Resolution: 0.1HR
- Display: High definition backlight LCD
- Operation: Menu selectable, Membrane keypad Upper/lower limits setting alarming
- Data statistics: Avg., Max., Min., S, R Curved surface auto correction
- Memory: 400 test results stored automatically
- Testing Capacity: Vertical: 11.8” (300mm) , Depth: 8.6” (220mm)
- Dimensions: 690mm×280mm×860mm
- Power supply: AC, 220V/110V, 50~60Hz, 4A (convertible)
- Net weight: 86 kg (190lbs)
- Gross weight: 120kg (265 lbs)


Included Accessories:
| Standard hardness block for B scale | 1 |
|---|---|
| Standard hardness block for C scale | 2 |
| Standard hardness block for N scale | 2 |
| Standard hardness block for T scale | 1 |
| ball indenter (1/16″) | 1 |
| 120°cone diamond indenter | 1 |
| Mounting screws for indenter | 2 |
| Flat anvil | 1 |
| “V ”shape anvil | 1 |
| Power supply cord | 1 |
| Screwdriver for indenter mounting | 1 |
| Dust cover | 1 |
Options:
- NIST/ASTM certified hardness test blocks, penetrators and kits are available.
- This model is available with ASTM E18-20 certification
Rockwell Hardness & Superficial Rockwell Hardness Tester Scale/Indentor/Load chart
| Scale Symbol | Indentor Type | Preliminary Force N (kgf) | Total Force N (kgf) | Typical Applications |
|---|---|---|---|---|
| A | Spheroconical Diamond | 98.07 (10) | 588.4 (60) | Cemented carbides, thin steel, and shallow case hardened steel |
| B | 1/16” Carbide Ball | 98.07 (10) | 980.7 (100) | Copper alloys, soft steels, aluminum alloys, malleable iron, etc. |
| C | Spheroconical Diamond | 98.07 (10) | 1471 (150) | Steel, hard cast irons, pearlitic malleable iron, titanium, deep case hardened steel, other harder than HRB 100 |
| D | Spheroconical Diamond | 98.07 (10) | 980.7 (100) | Thin steel and medium case hardened steel, and pearlitic malleable iron |
| E | 1/8” Carbide Ball | 98.07 (10) | 980.7 (100) | Cast Iron, Aluminum and magnesium alloys, and bearing metals |
| F | 1/16” Carbide Ball | 98.07 (10) | 588.4 (60) | Annealed copper alloys and thin soft sheet metals |
| G | 1/16” Carbide Ball | 98.07 (10) | 1471 (150) | Malleable irons, copper-nickel-zinc and cupro-nickel alloys |
| H | 1/8” Carbide Ball | 98.07 (10) | 588.4 (60) | Aluminum, zinc and lead |
| K | 1/8” Carbide Ball | 98.07 (10) | 1471 (150) | Bearing Metals and other very soft or thin materials. Use smallest ball and heaviest load that doesn’t give anvil effect. |
| L | ¼” Carbide Ball | 98.07 (10) | 588.4 (60) | |
| M | ¼” Carbide Ball | 98.07 (10) | 980.7 (100) | |
| P | ¼” Carbide Ball | 98.07 (10) | 1471 (150) | |
| R | ½” Carbide ball | 98.07 (10) | 588.4 (60) | |
| S | ½” Carbide ball | 98.07 (10) | 980.7 (100) | |
| V | ½” Carbide ball | 98.07 (10) | 980.7 (150) | |
| 15N | Spheroconical Diamond | 29.42 (3) | 147.1 (15) | Similar to A, C and D scales but for thinner gage material. |
| 30N | Spheroconical Diamond | 29.42 (3) | 294.2 (30) | |
| 45N | Spheroconical Diamond | 29.42 (3) | 441.3 (45) | |
| 15T | 1/16” Carbide Ball | 29.42 (3) | 147.1 (15) | Similar to B, F and G scales but for thinner gage material. |
| 30T | 1/16” Carbide Ball | 29.42 (3) | 294.2 (30) | |
| 45T | 1/16” Carbide Ball | 29.42 (3) | 441.3 (45) | |
| 15W | 1/8” Carbide Ball | 29.42 (3) | 147.1 (15) | Very Soft Material |
| 30W | 1/8” Carbide Ball | 29.42 (3) | 294.2 (30) | |
| 45W | 1/8” Carbide Ball | 29.42 (3) | 441.3 (45) | |
| 15X | ¼” Carbide Ball | 29.42 (3) | 147.1 (15) | |
| 30X | ¼” Carbide Ball | 29.42 (3) | 294.2 (30) | |
| 45X | ¼” Carbide Ball | 29.42 (3) | 441.3 (45) | |
| 15Y | ½” Carbide Ball | 29.42 (3) | 147.1 (15) | |
| 30Y | ½” Carbide Ball | 29.42 (3) | 294.2 (30) | |
| 45Y | ½” Carbide Ball | 29.42 (3) | 441.3 (45) |
HARNDESS TESTING RESOURCES:
- REBUILT INVENTORY W/ FULL WARRANTY
- PHASE II WARRANTY CARD
- PHASE II SAMPLE EVALUATION SHEETS
- HARDNESS TESTER CONVERSION CHART
- PRINCIPLE OF ROCKWELL HARDNESS TESTING
- ROUNDNESS CORRECTION CHART FOR HARNDESS TESTING
- PORTABLE HARDNESS TESTERS
- MINIMUM THICKNESS CHART FOR ROCKWELL HARDNESS TESTING
- ROCKWELL HARDNESS SCALE INDENTOR LOAD CHART
- NIST LINKS
- NIST SCALE HISTORY
- ASTM LINKS


